Getting verified on Gmail and Apple Mail
I posted a tweet about being verified on Apple Mail, and a few people were asking me how I did it, so I figured I’d document the steps here.
-
To get started, you’ll need an S/MIME certificate — it’s sort of like a TLS/SSL certificate, but for email. It’s used to sign a message so that the recipient can verify you actually wrote it. S/MIME certificates normally cost money, but you can get a free one from Actalis. Make sure to note down the password when saving the certificate, because you’ll need it for the next step.
-
Get an email client that supports signing emails. Most web-based clients don’t support this feature, but desktop ones do. I’d recommend Outlook or Thunderbird.
- For Outlook, follow the guide from Microsoft.
- For Thunderbird, follow this guide from SSL Dragon.
- If you’re using another email client, you’ll have to search online, but the steps are usually quite similar — go to settings, find something about encryption or security, and import the certificate.
-
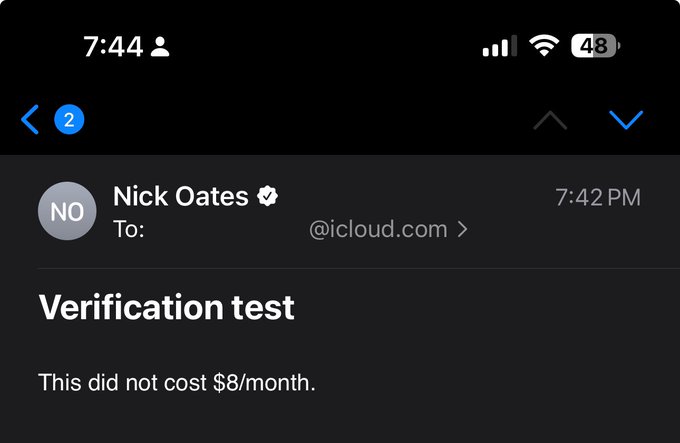
Send an email! You might have to choose to sign the message when sending, but it’s on by default for most email clients.
-
View the email in an email client that checks the signature. Apple Mail and Gmail both do this, and will show a verified check when an email is signed. Other clients show a lock icon, or don’t do anything at all.